This is the process on making the wallpaper. I learned it "slowly" with the help of my friends.
 | ||
| I opened back the same file I created before this when doing the layers because I'm going to use these images anyway. |
 |
| Firstly, I closed all the other layers leaving the layer i want to work out with (for here which is the lion). It's a bit confusing for me to have all the layers open up but it is fine for some people. |
 |
| I rasterized the layer before working on it. If not, you cannot work on the layer with some tools. |
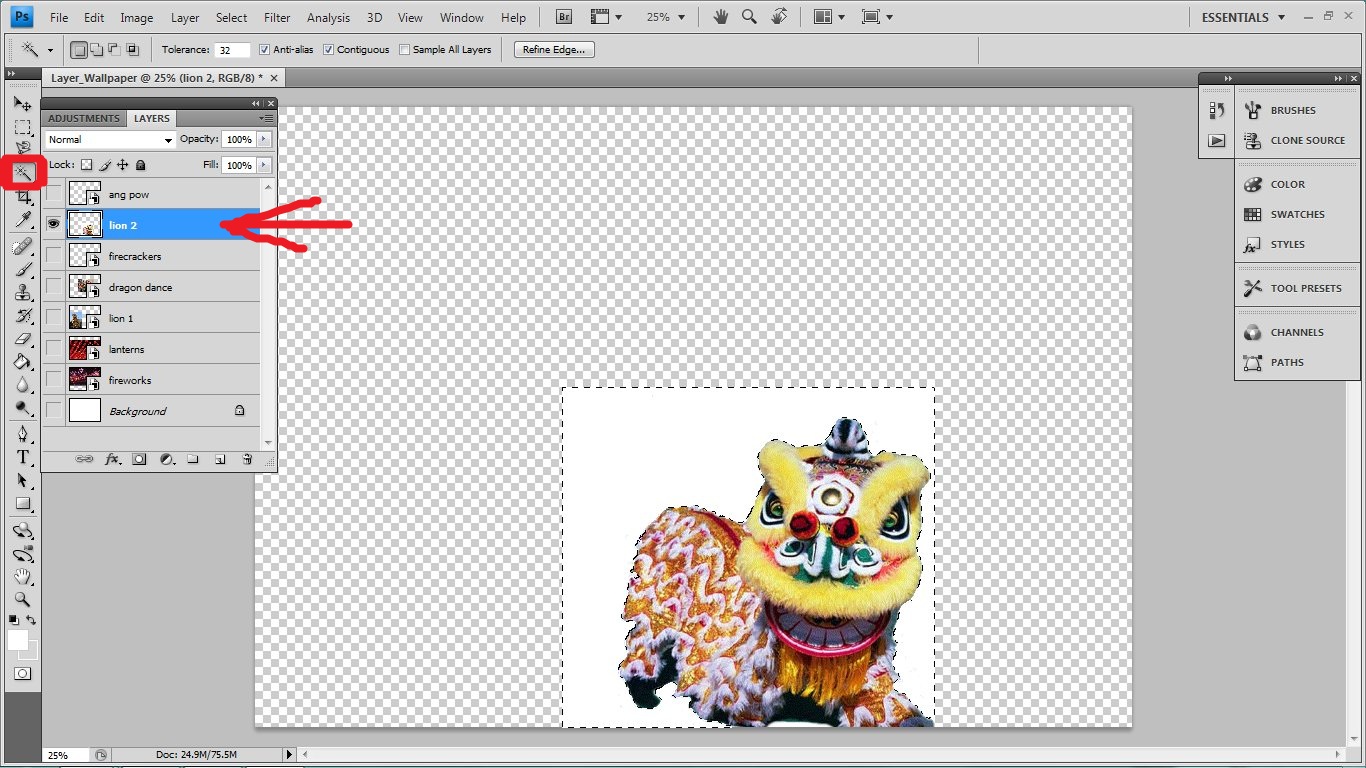 |
| Make sure your are at the "Layer" you want to work on. Here, mine is on the Lion 2 layer. Now, go to the "Magic Wand" tool on the left hand side of the screen (in the Tool panel). Click on it. Later, I click on the area I do not want and which is the white background. Press "Delete". |
 |
| Now the background is gone but leaving the dotted lines. |
 |
| Do not worry about the dotted lines. Just right-hand click on the selection place and "Deselect" it. |
 |
| Then, here we are. I got the lion image that i wanted. |
I also did the same thing on the other images.
No comments:
Post a Comment