 | ||
| Close the Lions layer. I move the lantern layer down with the "Move Tool" because I want to write some words on the top . |
 | ||
| Go to the "Type Tool" and click on it. |
 |
| Type the wordings on the top of the wallpaper. The type layer will automatically open for you. |
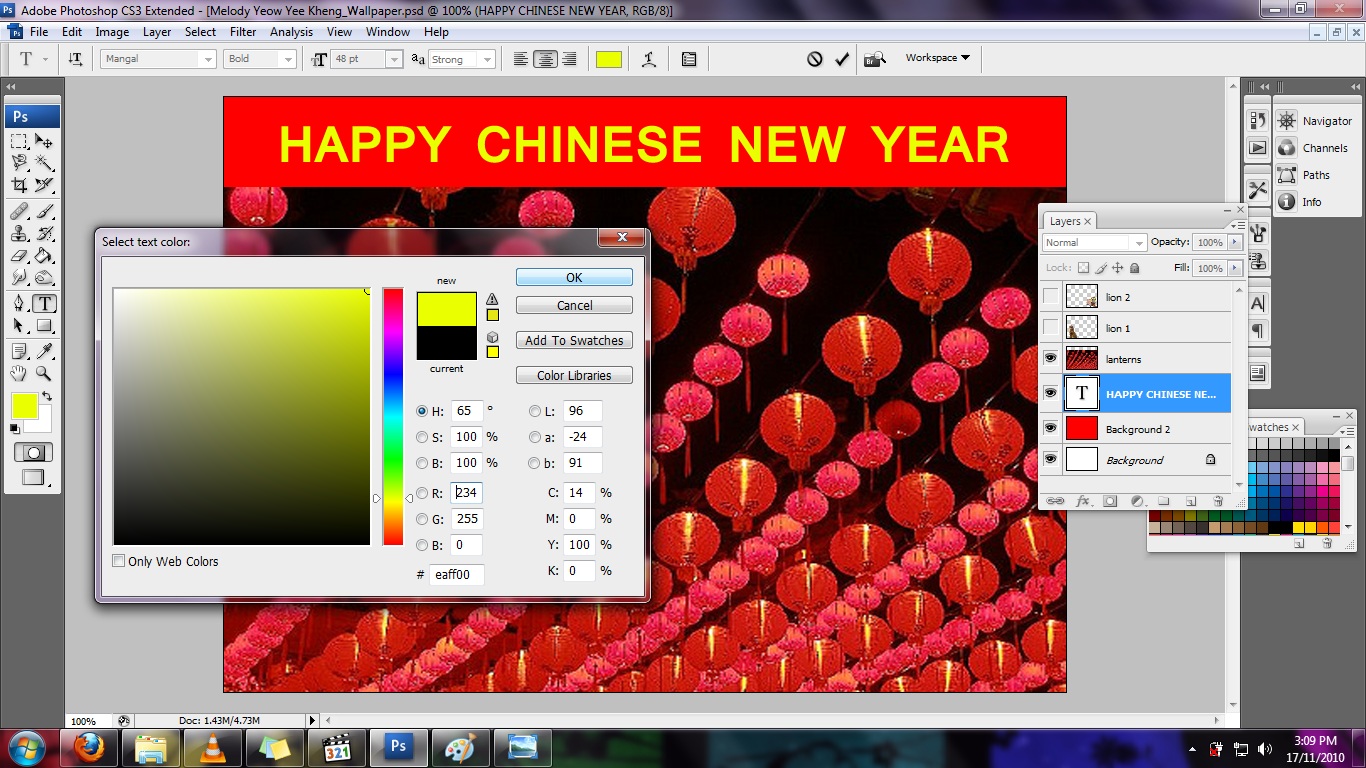 |
| Go to "Colour picker" then select the colour I want which is the Yellow for the words. |
 |
| Right hand click on the Type layer then click the Blending options. |
 |
| Here I use "Outer Glow" for the Words on the top. |
 |
| I finished doing the "Outer Glow" and I get the wordings as I want it to be. |
 |
| Then, I use "Adjustments" on "Curve" to change brightness the left lion. |
 |
| The "Curves" window will appear. Then you can adjust it anyway you like. Then click OK. |
 |
| Now I place the Chinese character in the middle of the wallpaper. |
 |
| Go to "Magic Wand tool" and selected the Chinese character which I need. |
 |
| Right-hand click on the selected area. Then click on Layer via Copy. |
 |
| A new layer will be formed. Close the main Chinese character layer so you just get the character and avoid the background. |
 | ||
| I delete the background of the character leaving the character. I rename the layer to Chinese character now. I use the adjustment curves again but this time I just change the "Red channel". Then click OK. |
 |
| I want to add special effects to the Chinese character so I right hand click on it's layer open the Blending Options. |
 |
| I use "Outer Glow" and change the Gradient Editor taking purple colour. |
 |
| Here is the outer glow as you can see. |
 |
| I even added Drop Shadow. You can see the shadow behind the Chinese character. |
 |
| Here I retouched the lion color using "Adjustment, Curves" as you can see it's darker now. |
 |
| I did the same thing for the Second Lion (right one). |
 |
| Since the Outer Glow before this is brighter, I made it less glowing now. |
 |
| I also change a bit of the glow on the word, "Happy Chinese New Year". |
 |
| Finally, finished.... |
WALLPAPER COMPLETED....
No comments:
Post a Comment